Basting is one of my least favourite parts of quilting, and it is not uncommon for me to have 2 or 3 quilt tops sitting around until I finally decide to set aside a morning and get on with it. For anyone new to quilting, basting is when you place the patchwork top, the warm middle layer, know as batting and the fabric for the back of the quilt together. This needs to be done very carefully, as if there are any parts that are loose or not smooth/flat, you will have puckers or 'bubbling' in your finished quilt. I was having a few issues with puckering, no matter how careful I was, and I was getting a little bit frustrated, but then I found a method that seems to work perfectly. As a complete bonus, it does not require crawling around the floor either, so my knees and back do not suffer - win win!
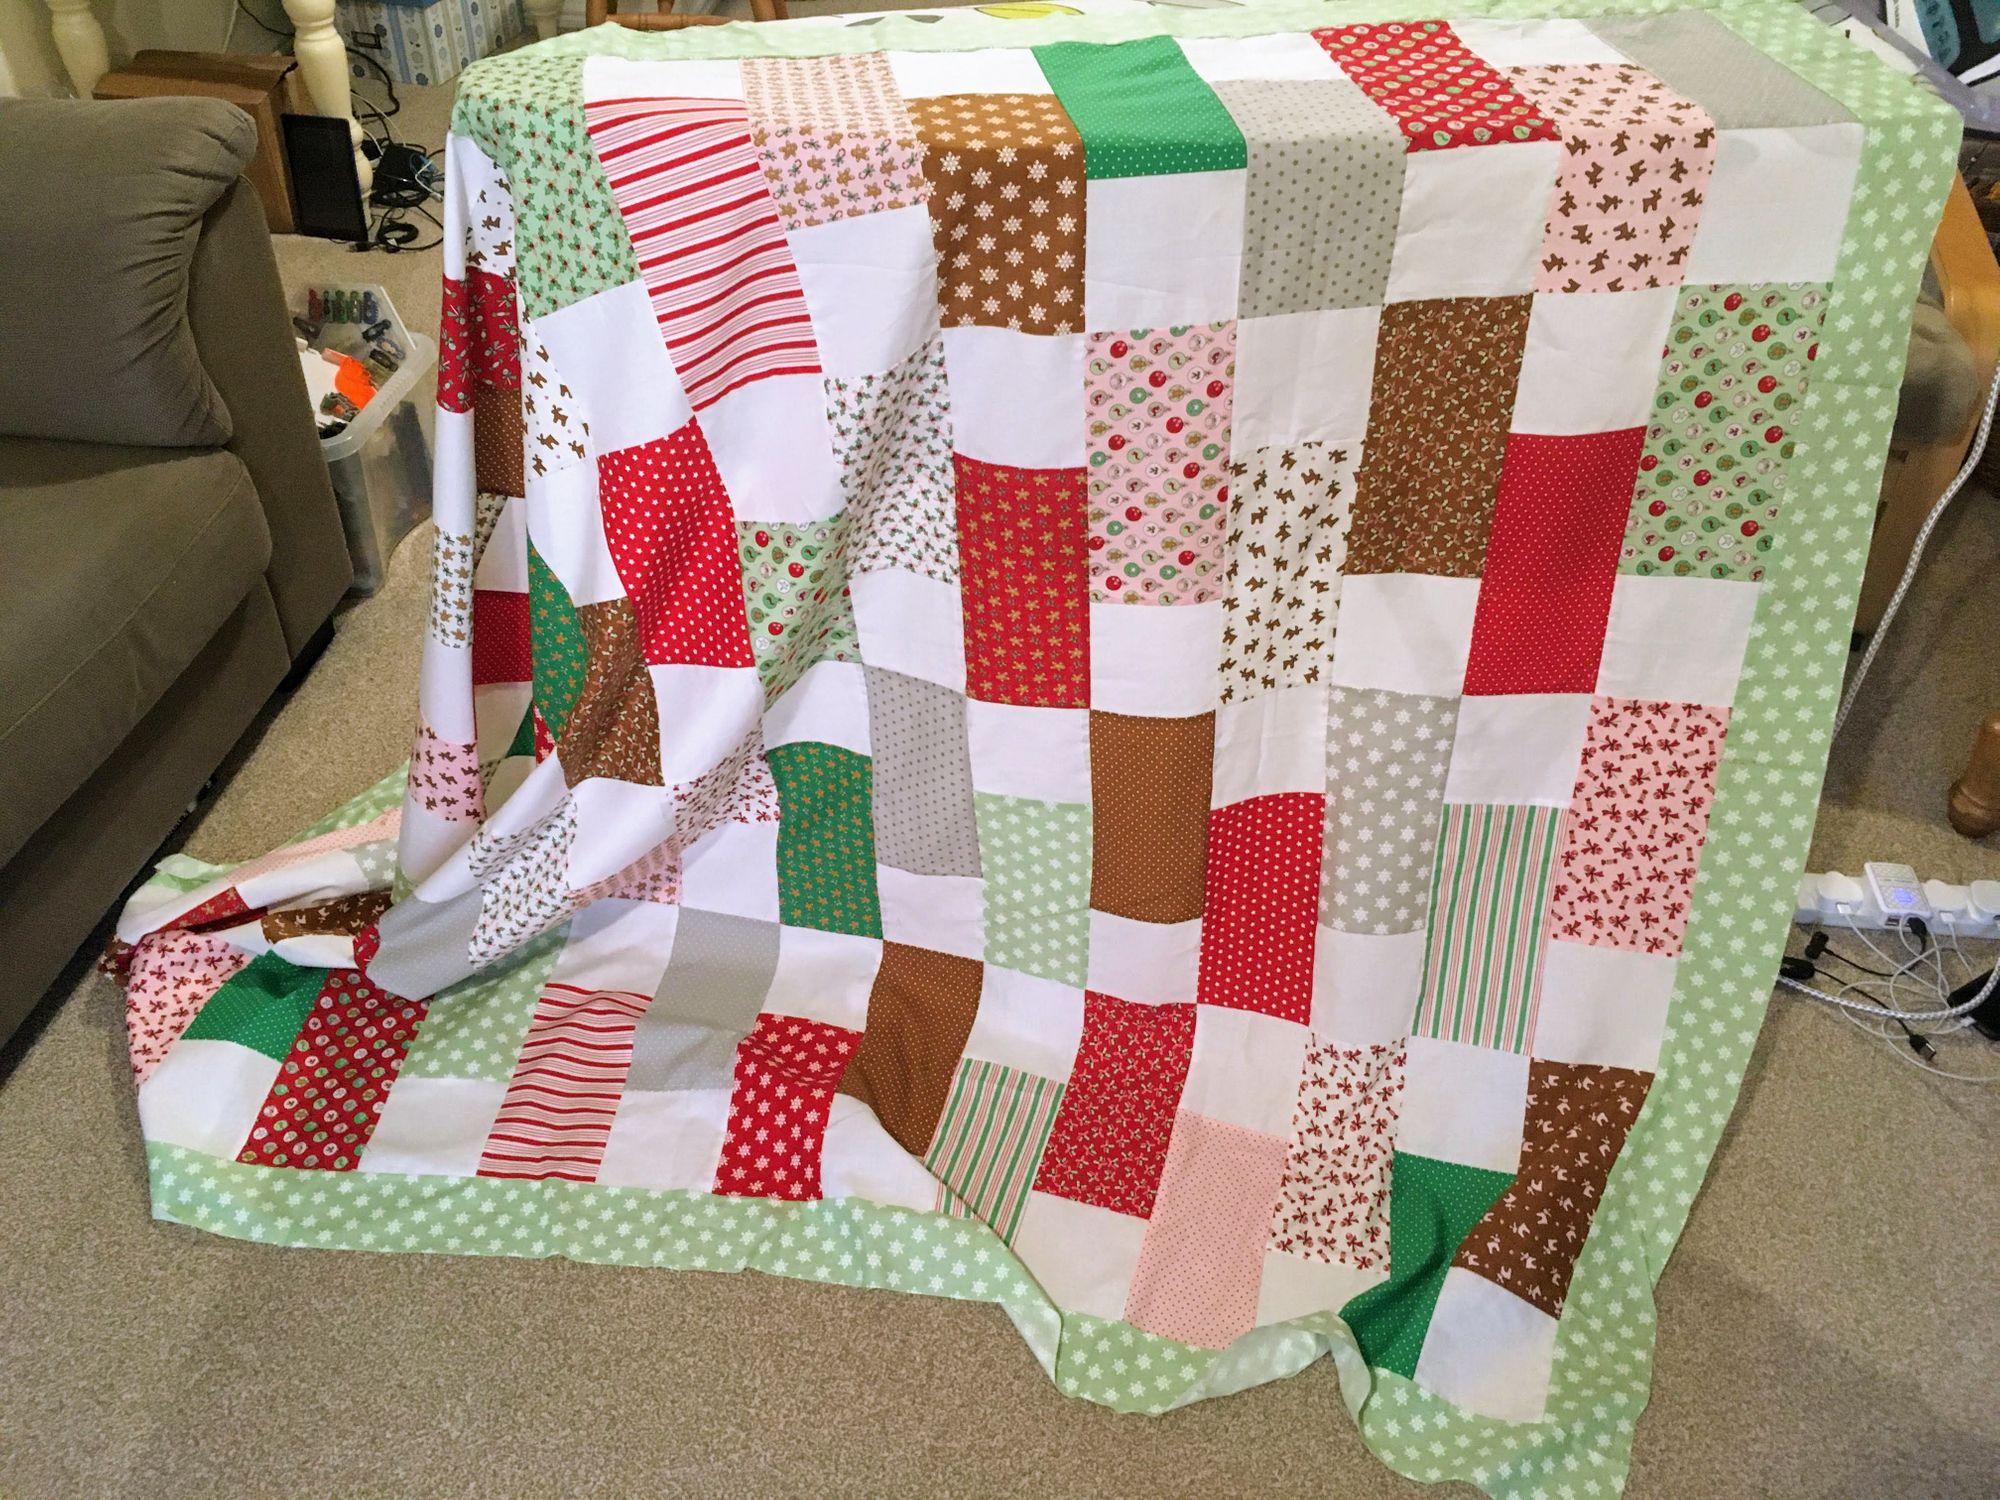
First up is the pressing, and I iron the front and the back as flat as I can. I personally don't iron the batting, as it's very forgiving and smooths out easily, but you can if you wish. This is a quilt I was making last Christmas, but I didn't get it basted and finished in time, so I left it until this year ;-)
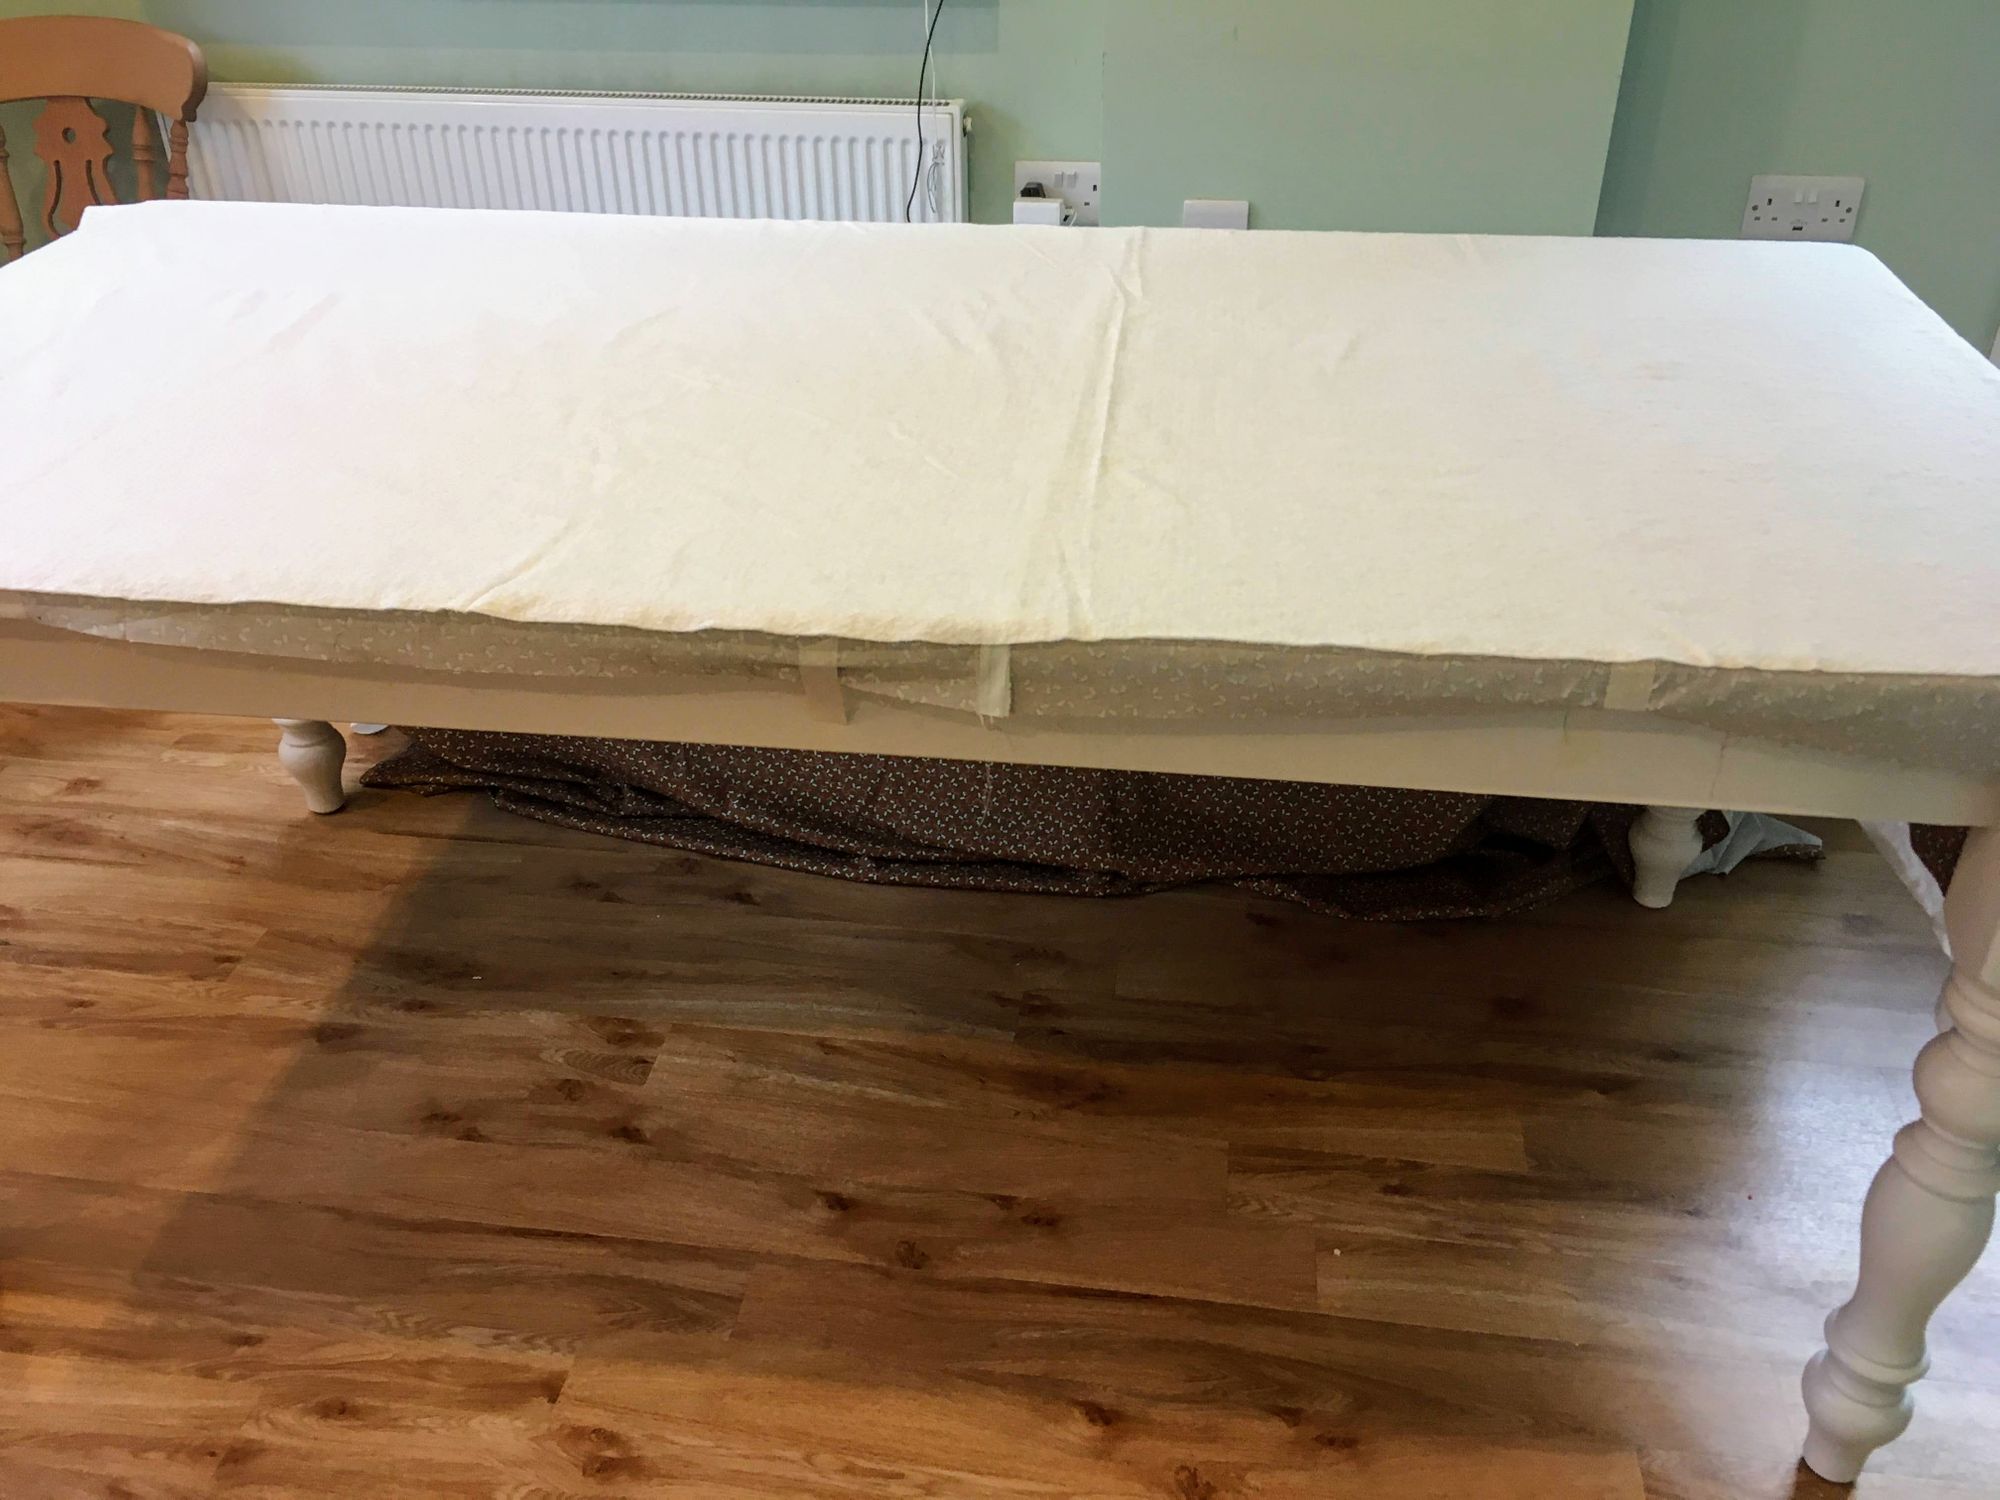
Next you need a reasonably sized table, and some space around it. It also helps if this is in a kitchen or room with a hard/washable floor, as there will be some spray glue involved. First you lay the back of the quilt on the table, with the patterned side down, and gently smooth it out with your hand. Grab a roll of ordinary masking tape and tape down the edges of the fabric wherever you can find a bit of table to tape it to. You can see in the photo below that I have already taped the bottom layer on, and added the batting on top, but in between the layers, I gave it a light spray with Odif 505 basting spray glue, which is brilliant stuff. It is repositionable and will dissolve in the first wash, but it gives enough tackiness to hold it together while you quilt.You need to repeat the spraying, smoothing and taping process for each layer, and if it's larger than your table (which it probably will be) you may have to move it all across and do one side at a time. You can see half of the backing under the table, as this was a small double size, so I just did the same thing on each side.
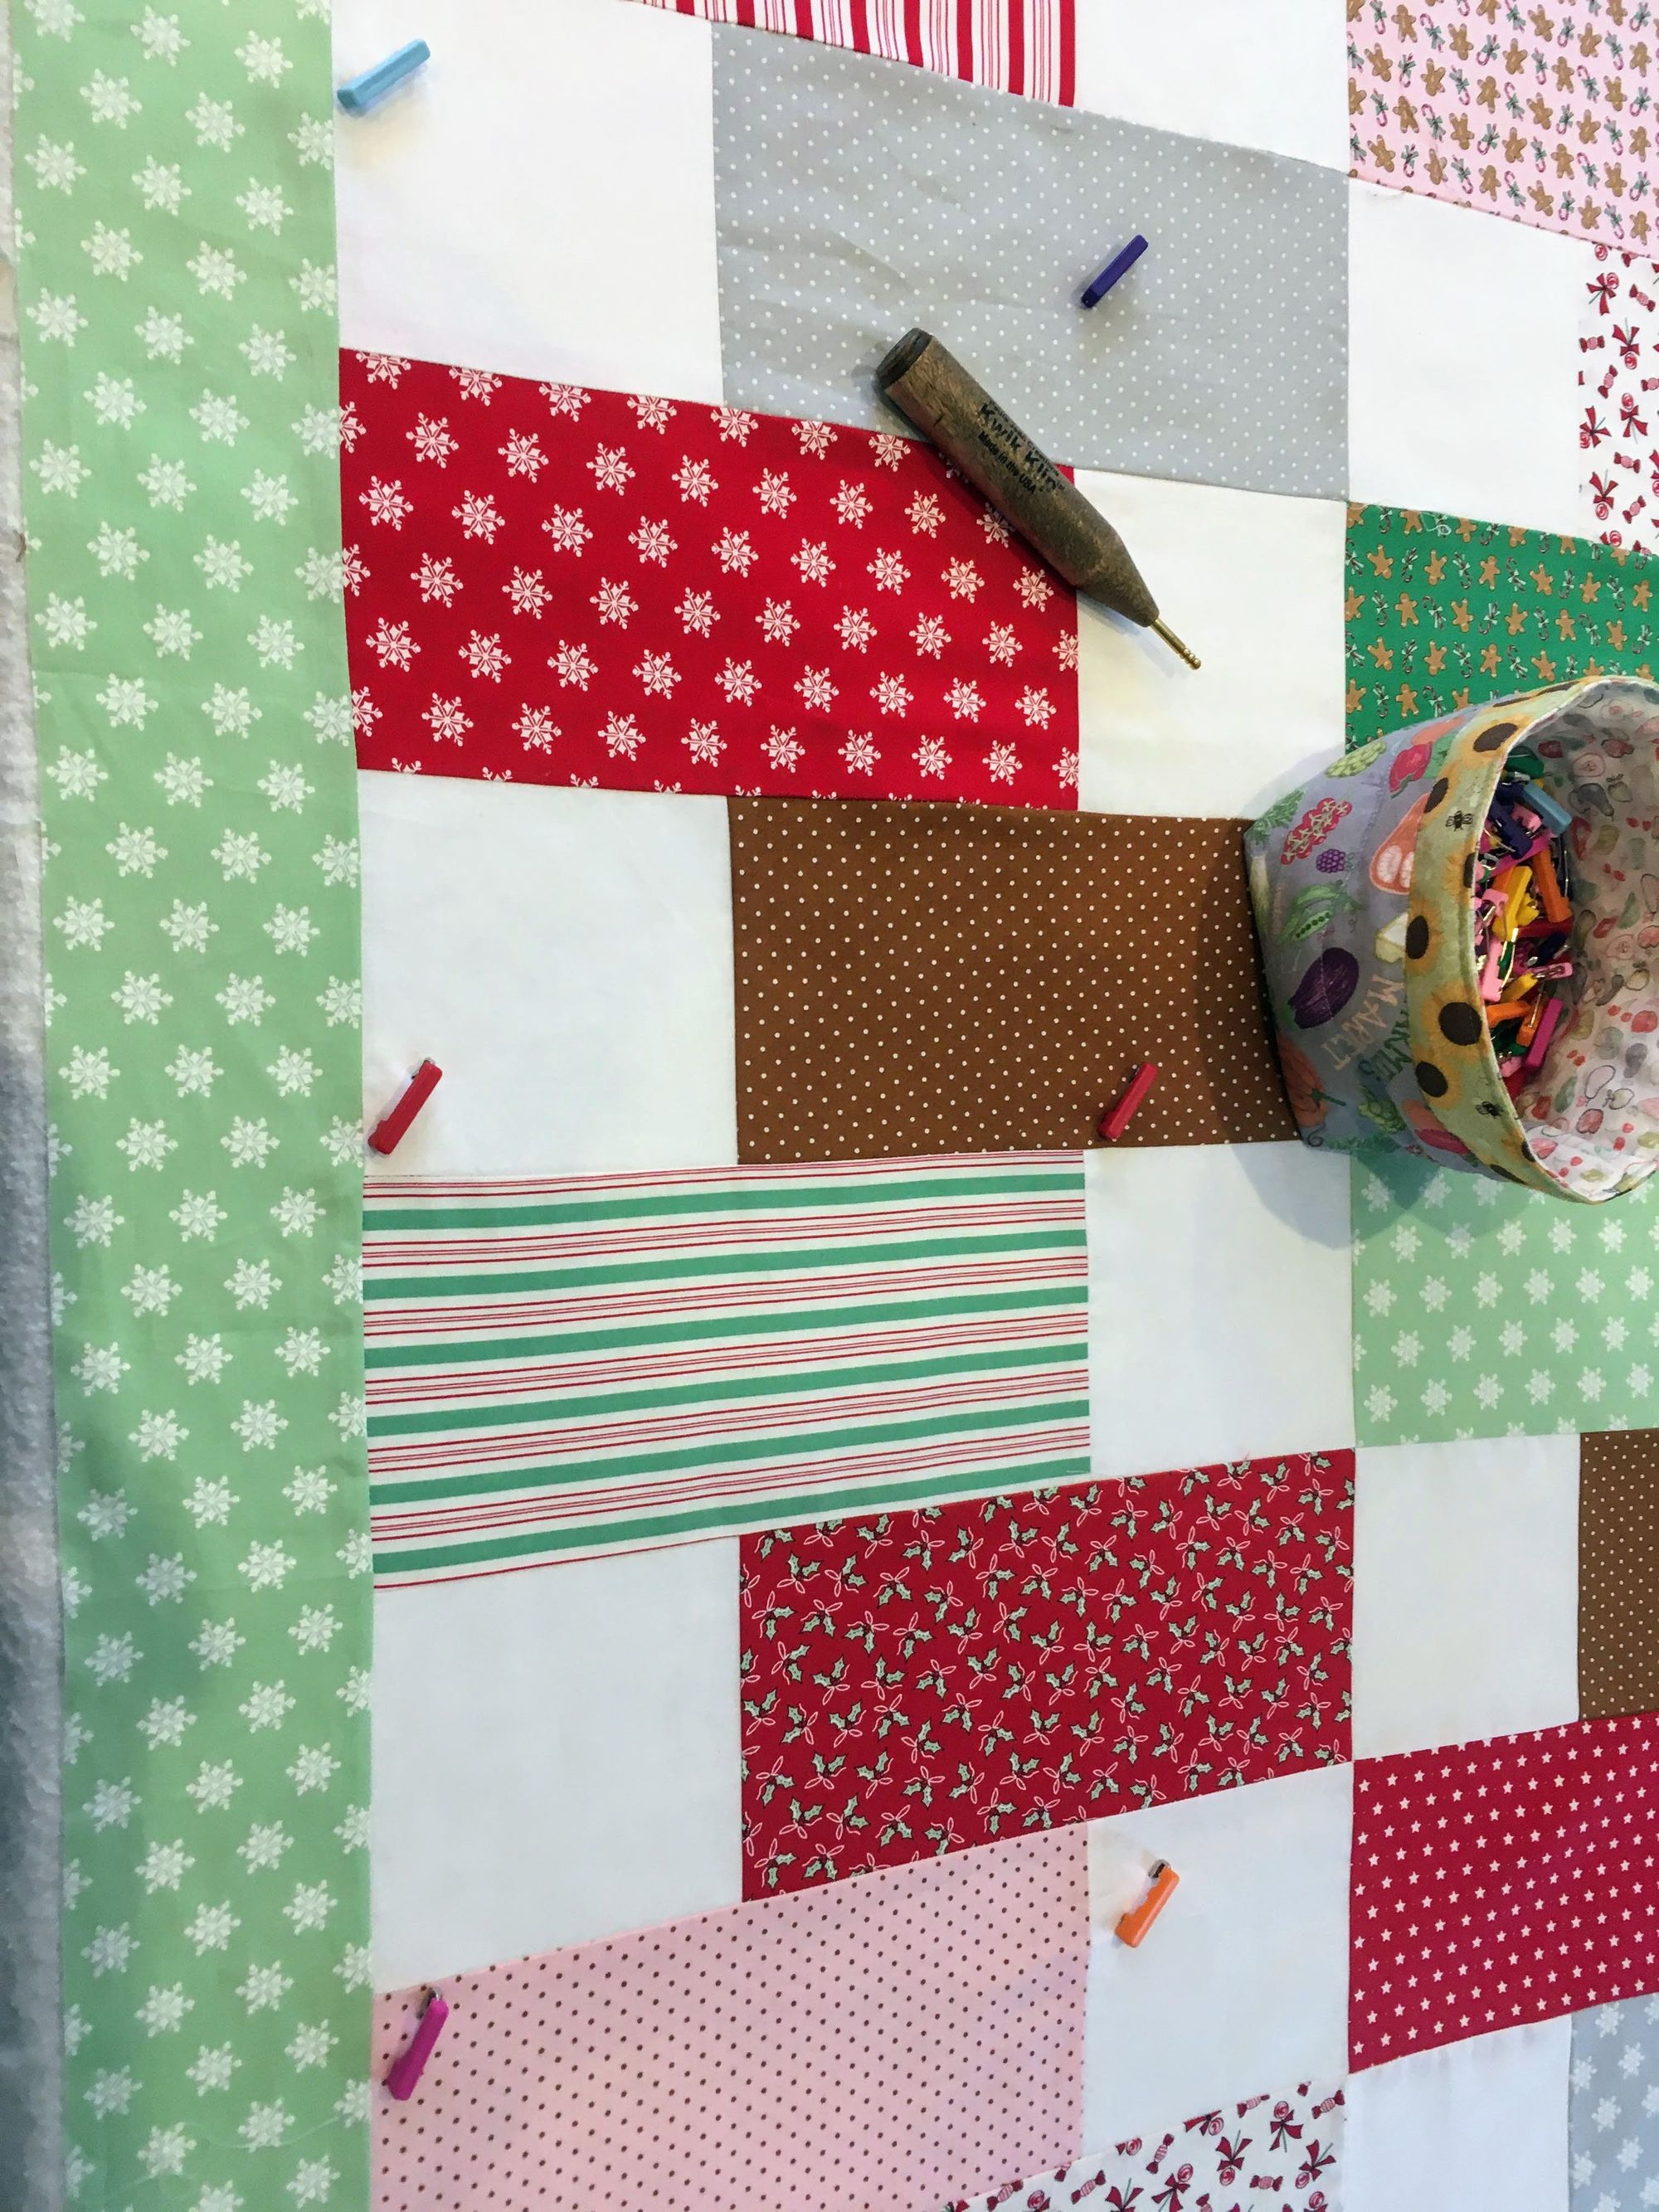
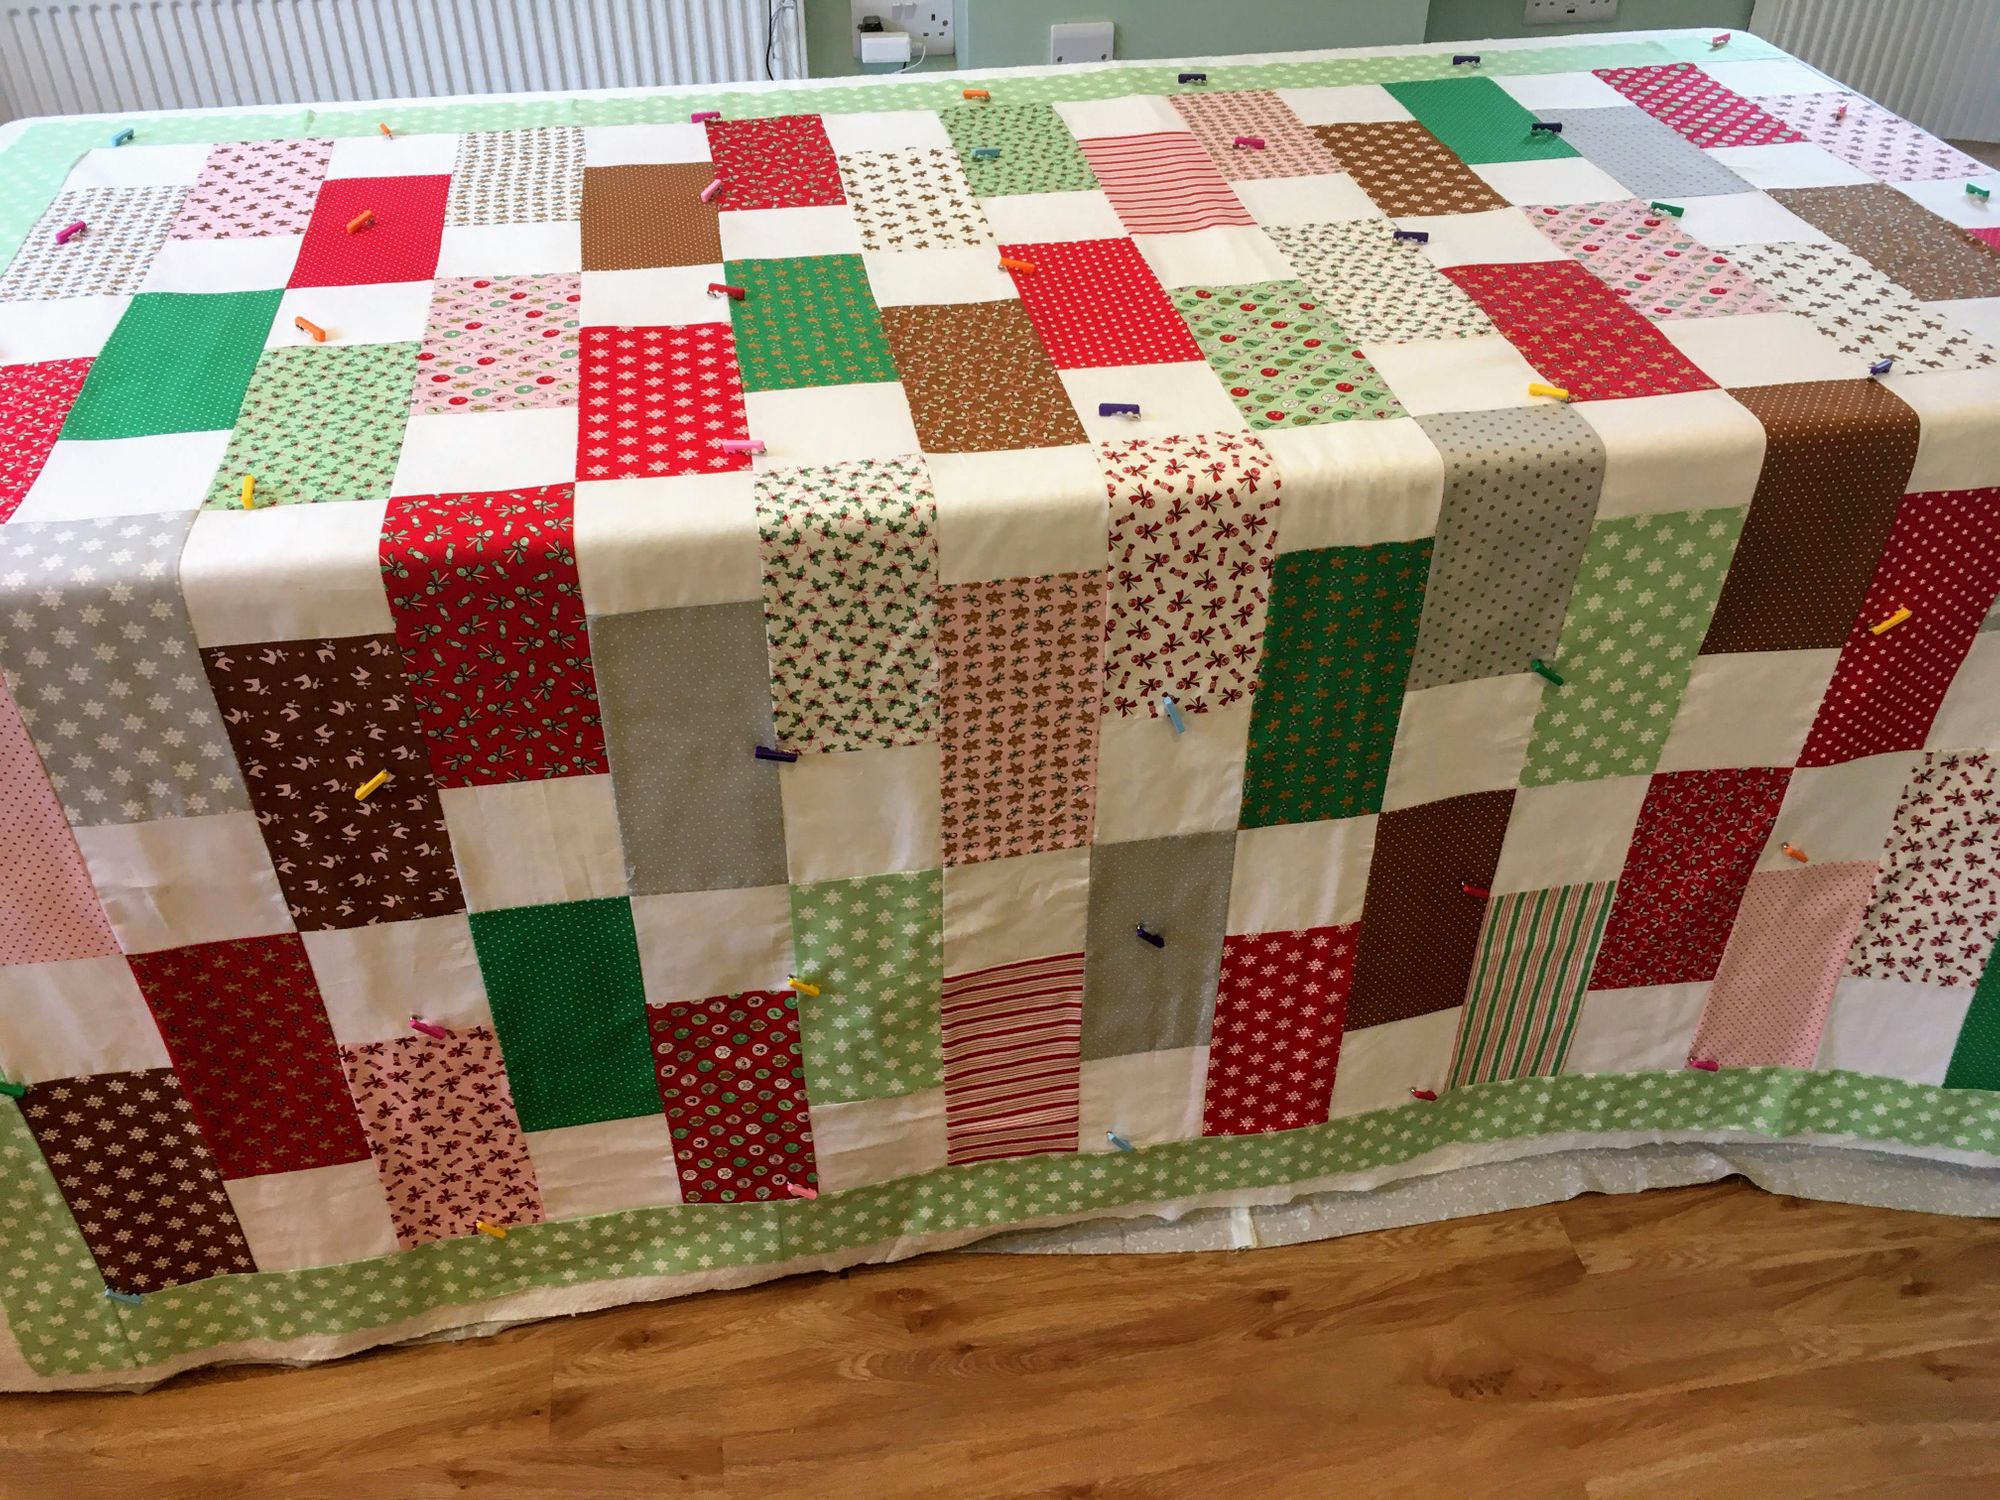
Next comes the part that makes all the difference, and it requires some safety pins. You can buy curved safety pins, which are designed for quilters and they curve up nicely through the layers. Many quilters only use the spray for basting, and many only use the pinning method for basting, but I have found that a combination of the two has eliminated all puckers. (so far!) If you were only pinning, you would need a lot more pins, probably enough to make sure there was a pin every 3-4 inches max over the entire quilt top. Because mine are also held together with the spray, mine are just for additional security, and I place them every 10 inches or so over the quilt. It should look something like this...
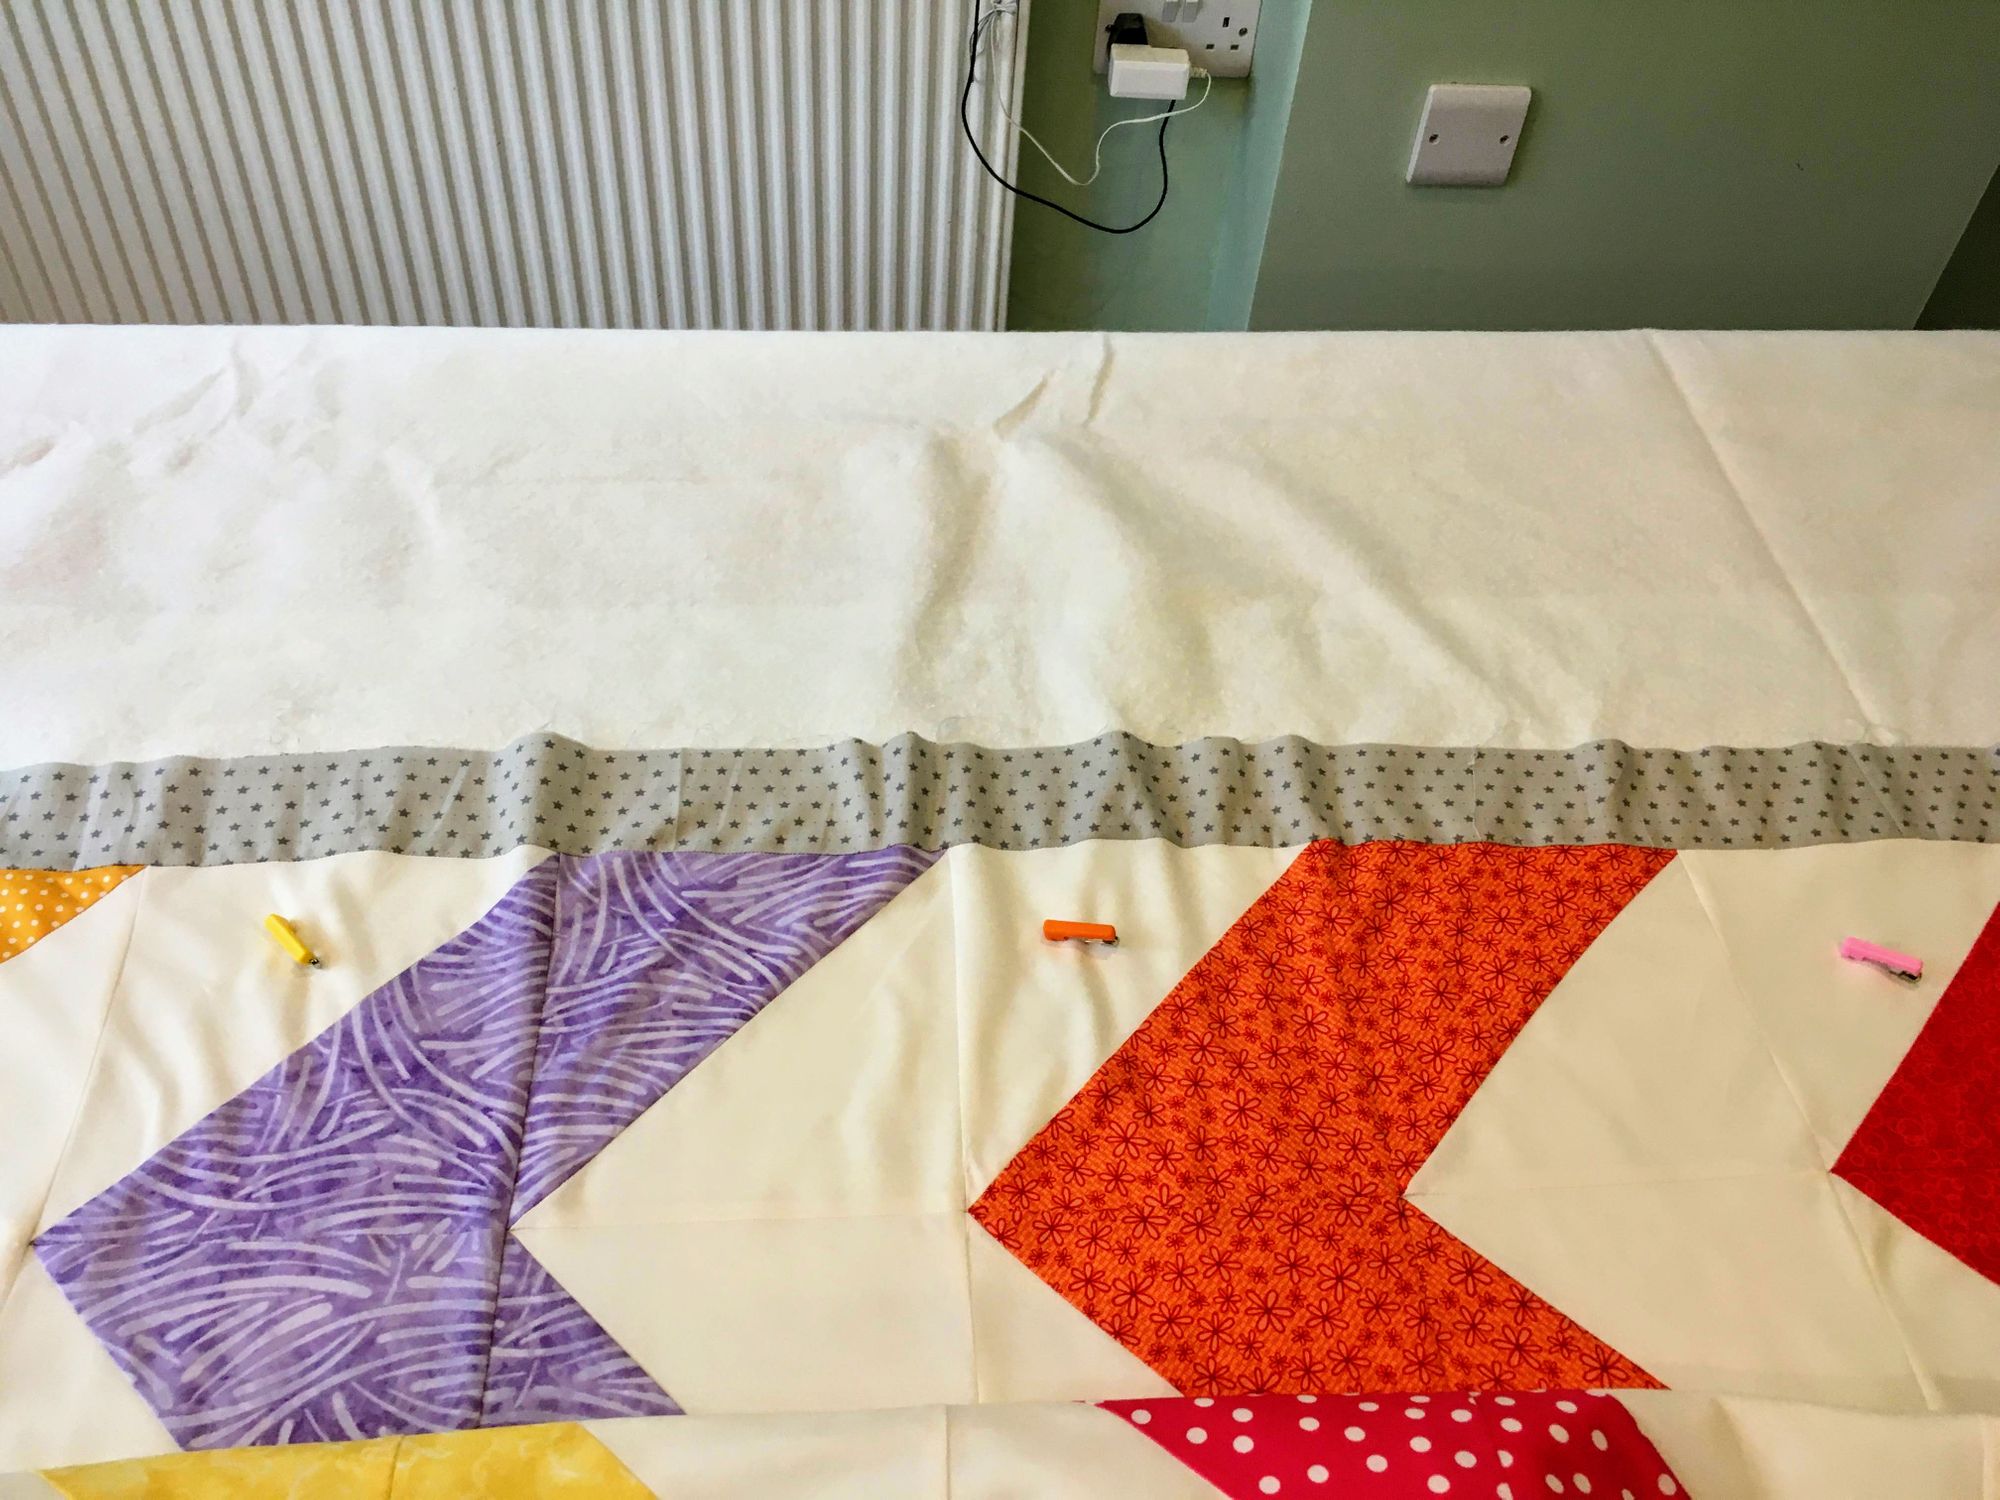
Now it's ready for the part that makes it a quilt - the quilting. That's one of my favourite parts, so it's always a relief to get the basting done and know that the good bit can begin :-) Sometimes though, I make a silly mistake, one which I know very well NOT to do, and the basting stage this time exposed my attempt at cutting corners on my most recent top. When adding a border to a finished quilt top, you should always measure the length of the side you are going to attach it to, and cut it to the correct size, pinning it carefully so that it is a neat and snug fit to the main quilt. Well I was rushing one afternoon, and I wanted to get the borders on quickly before I went out, so I just grabbed the lengths of cut fabric and just whizzed along the quilt edges, cutting it off when I reached an end. This gave me too much fabric in the borders, as it was too slack, and when I went to baste it, I knew I had paid the price for my laziness! You can see my bad borders in the picture and how they will not lay flat, and will cause a fold when quilted. I could have taken it apart and sewn them on properly, but I actually chose to be lazy again and I will just trim off the border after the quilting. Definitely don't do this though, it's really annoying and very avoidable! I have 2 more quilts to baste this week, but I know I have sewn them properly, so they should be perfectly straightforward thankfully ;-)